We’re here to sew up a cowl neck, flutter sleeve Sylvie! We’ll go step by step through the construction and I’ll share my experience pairing the Sylvie sewing pattern with a bamboo-cotton jersey.
In case you missed it, click here for Sylvie inspiration, fabric and supplies. If you were looking to make the round neck or sleeveless Sylvie, check out this post. And of course, here's the link for the Sylvie sewing pattern, if you haven't already snatched her up!
Let’s jump in!

Once all your pieces are cut, it’s time to transfer the markings. Generally, I like to snip my notches and use either chalk or iron-off pen for the rest of the markings.
I dipped into my daughter’s stash for these whimsical stickers to help identify the front and back of my solid fabric. You can often tell the right side of most knits by the small rows of tiny V’s, but it can be easier on the eyes to mark the wrong side of the fabric with chalk, fabric marker, washi tape, or fun stickers (just always test them out to make sure they don’t leave a residue).
Now it’s time to stabilize the shoulders. I used thin strips of knit interfacing just a scant bit wider than our 1 cm (⅜ in) seam allowance and applied it to the back shoulders and what will become the front shoulder of the yoke. You can use non-stretch interfacing, or even light cotton tape for the shoulders depending on the weight of your fabric. Make sure your dot markings on the front piece are still visible.
Additionally, I added strips to all of the edges that would get flipped and hemmed. For the back neck and sleeve edges, I cut the strips 1 cm (⅜ in) wide to match the hem allowance. I cut 2 cm (¾ in) wide strips to go around the bottom edge. This is optional, but I’ve found it to be really helpful for sewing a smooth hem, especially on slinkier fabrics.

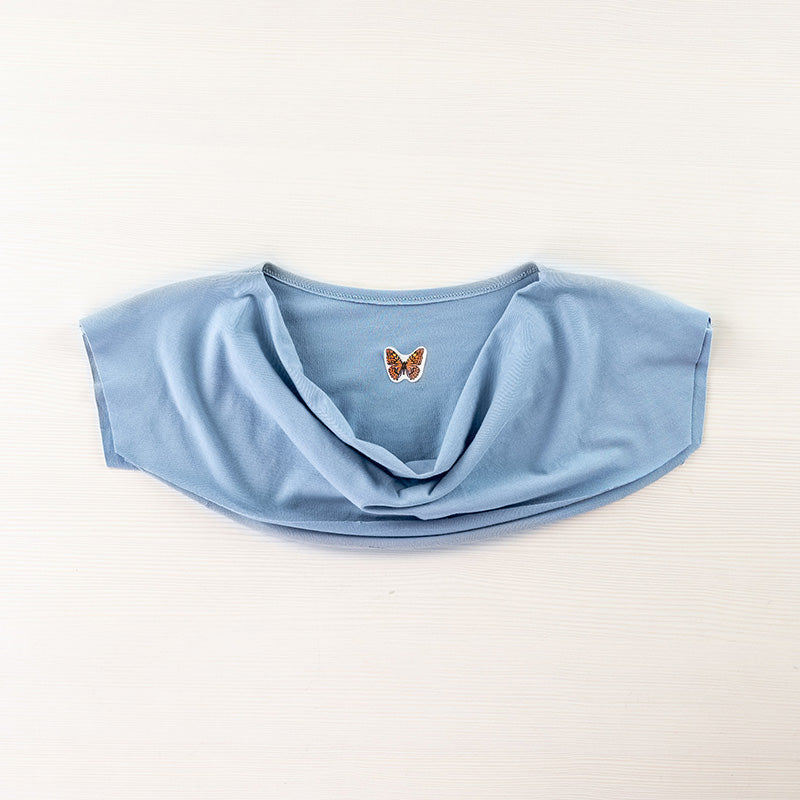
First finish the back neck by pressing the hem toward the wrong side by 1 cm (⅜ in). Stitch the hem with either a twin needle, zigzag or coverstitch.
Next, we’re going to enclose the back shoulders within the front shoulders of the cowl. It might sound a little intimidating, but we’ll take it in bite-size pieces.

Identify the area you just interfaced. This will become your front shoulder seam. Flip it over so that the right side of the fabric is facing up.

Then place the back yoke piece over it with the right sides together. The hemmed edge of the back neckline will line up with the dart mark on the front piece. Sew here, making sure to backstitch at the dot marking, Repeat for the other side.

Now wrap the front cowl nice and snug around the back shoulder, matching the dotted marks. Stitch the seam again, now sewing through all three layers.

Turn everything right sides out to reveal your beautifully finished yoke! The shoulder seam should be neatly enclosed within the cowl.

If you used a fun sticker or washi tape to mark your fabric’s wrong side, now is the time to remove it from the cowl.
Gently press the shoulder seam from the inside of the garment. You don’t need to firmly press the edge of the cowl neckline. It should drape softly into place.
Baste the lower front edges of the cowl together within the seam allowance. This will make attaching it to the bodice a little easier.
We’re going to start with stitching the front yoke and bodice together because it requires a little more attention, then we’ll ease into connecting the back pieces.
If you haven’t already, mark the 1 cm (⅜ in) seam allowance on the wrong side of your front bodice about 5 cm (2 in) on both sides of the center V. Then clip as close to that marking without going through the seam allowance. This clip lets the seam allowance to open up instead of puckering or pulling tight.

Starting at the center V, pin the bodice and yoke with the right sides together. Work outward, matching the notches as you go.
Double check your yoke piece here since both sides of the front yoke are the right sides of the fabric but not necessarily the outside of the garment. You can use your back yoke to check which side will become the inside.
With the bodice on top and the yoke underneath, stitch just the area where you marked the seam allowance. Carefully stitch along that 5 cm (2 in) on either side of the V. Pivot at the corner, taking care to keep your fabric layers flat.
If you encounter any puckering, you most likely need to realign and clip in closer to the seam allowance. Once you’re satisfied with the center, stitch the rest of the seam out to both sides. Press the seam towards the hem.

It’s worth noting that even if you’re primarily using an overlocker, this step is easiest on a sewing machine. If you prefer to do it on an overlocker, I found it best to clip a wider angle at the center. Then begin stitching at the center and stitch outward on both sides, rather than trying to pivot at the sharp corner. Don’t forget to weave in or tie off the ends at the center.
To sew the back pieces, open out the yoke, laying it right side up. Then pin the back bodice right sides together, matching the notches. Stitch and press towards the hem.

If your fabric has a tendency to curl like my jersey did, I’d recommend trimming it close to the seam to prevent it rolling up and getting bulky. For extra security - and cuteness - I even topstitched the seam down using a twin needle. You could also use a zigzag or coverstitch if your fabric is as finicky, or if you just want to add a fun detail.

Before sewing the sleeves, I like to get ahead of the instructions a little bit. I do myself a little favor by pre-pressing the hem of the sleeve. I never regret pressing my hems while they’re still flat instead of in the round, especially on a curve like the hem of this flutter sleeve. Press toward the wrong side by 1 cm (⅜ in). And while I’m at the ironing board, I’ll go ahead and press my body hem too at 2 cm (¾ in)!

To attach the sleeve, lay the body flat with the right side up. Place the sleeve on top so the right sides are together. Match the edges and notches. Pin and stitch. Gently press the seam allowance towards the sleeve.

We’re in the home stretch! Place the front and back sides right sides together. The side seam and underarm seam will be sewn in one go.
Pin the side seams and underarm seam, matching the notches at the waist and sleeve intersection. Starting at the hem, sew right on through to the end of the sleeve, making sure to pivot at the underarm seam.

Since we pre-pressed our hems, finishing is a breeze! Using a twin needle, zigzag or coverstitch hem up the sleeve and body.
Give your Sylvie one last press and she’s done!

Here’s my finished Sylvie paired with my elastic Ella hack.

The flutter sleeve and cowl neck are such a chic way to level up a basic knit top!

Thanks so much for joining our Sylvie Sew-along! We hope you’ve been inspired and maybe even learned something new!
Let us know if you have any questions. We love to help you grow in your sewing practice. Until next time, happy sewing!

We're so excited to introduce our newest sewing pattern, the Xenta Tote! Xenta combines our love of dramatic details, adventurous sewing, and practical utility.


